
Solid hardwood flooring adds style, value and warmth to your home. If you decide to tackle installation yourself, we have instructions on how to lay hardwood floor like a pro.
About Solid Hardwood Flooring
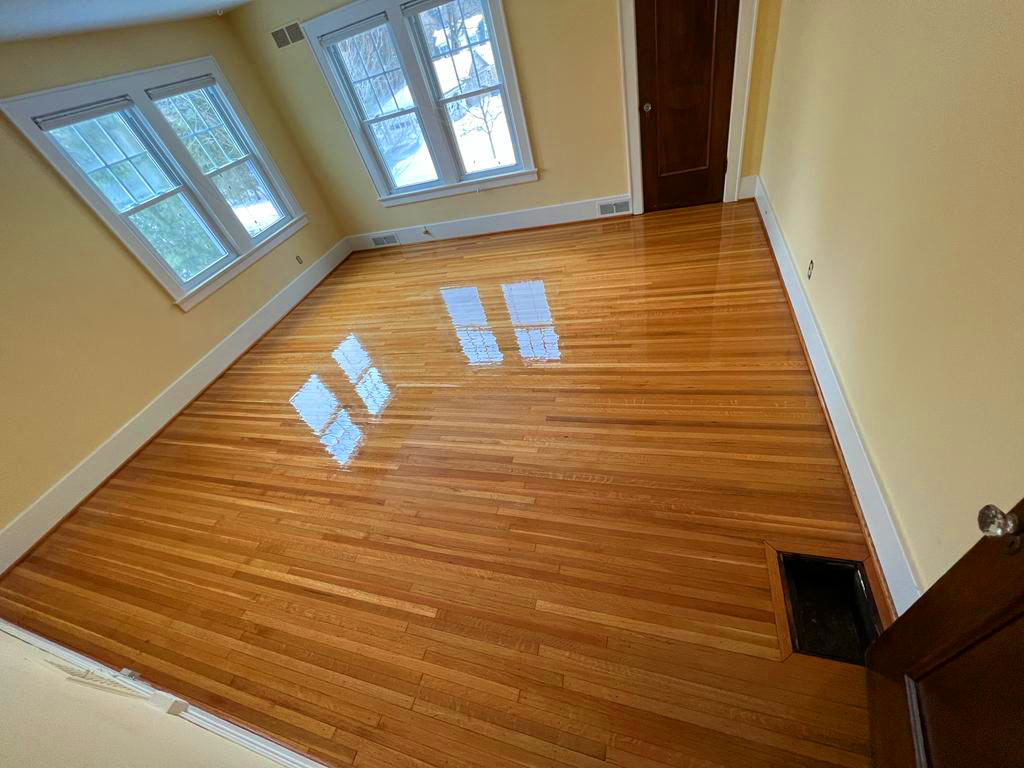
Solid hardwood flooring has a rich, attractive appearance that adds value and style to your home. It’s often installed in the living room, kitchen, bedroom or dining room.
Before You Install Wood Flooring
Wood floor installation requires a level subfloor and that your hardwood flooring is acclimated to the room’s humidity and temperature according to the manufacturer’s guidelines.
STEP 1: Prepare the Area
or your first row, you’ll want the straightest planks, arranged with the tongue side facing the center of the room. Place spacers inside the expansion gap — the space between the wall and floor that allows the wood to expand from heat and humidity. Predrill nail holes 1/4 inch from the narrow side of the plank at 1/2 inch from the wall.
STEP 2: Countersink the Nails
Because the pneumatic nailer is hard to maneuver near the wall, face-nail the first few boards in place. Countersink the nails with a nail punch and fill the remaining hole with matching putty. Then blind-nail at a 45-degree angle through the tongue. Make sure to countersink the nail so it doesn’t interfere with the board-to-board connection.
STEP 3: Fit and Lock the Boards
On the second row, lock the tongue and groove, and tap them together with a mallet and block for a tight fit between the boards. Stagger the ends of adjoining boards by at least 6 inches, cutting the end board if needed to create a stronger, more attractive flooring pattern.
STEP 4: Use a Flooring Nailer
Blind-nail the second row through the tongue and repeat the process until you’re able to use the flooring nailer. The flooring nailer requires room to work, so it typically can’t be used until two to four rows have been installed. When using a flooring nailer, be sure to install the nailer’s protective boot to protect the flooring.
STEP 5: Finish Hardwood Floor Installation
When you get to the last few rows, switch back to nailing by hand. On the last row, cut the pieces to fit, measuring the distance from the wall to the board — not the tongue — minus the expansion gap.
If the final piece is 1 inch wide or less, apply a small amount of wood glue to the tongue and groove. Then insert the piece with a pry bar and a piece of scrap wood to protect the wall. If the final piece is larger than 1 inch wide, face-nail the piece, countersink and fill the hole with matching putty.
STEP 6: Install the Transition Pieces
Install the transition pieces according to the manufacturer’s instructions and remove the spacers. Cut the underlayment and reattach the baseboards and shoe molding to the wall, not the floor.

Alright guys, just checked out ku 11 .net and gotta say, it’s alright. Not the best I’ve seen, but not the worst either. Worth a look if you’re bored I think. Give ku 11 .net a shot if you’re feeling lucky.
Watching a game live and need ‘7m live macao’ scores? This site is seriously quick with the updates. It’s a game-changer! 7m live macao.
sss game casino is growing on me. They have a diverse selection which is great. So far I have had some good wins. Check it out and good luck!: sss game casino